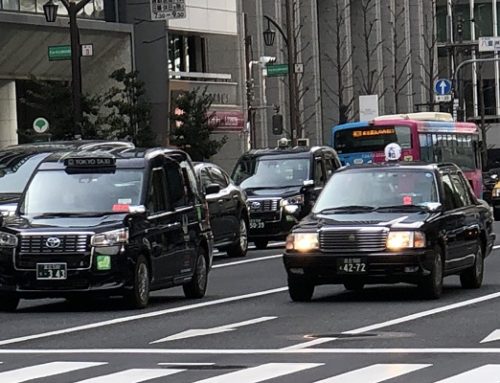
As the network of railroads and subways in Tokyo is complicated, it is advisable to use the smartphone app “Japan Travel”. Here I show you how to use it when you take railroad or subway to your destination. Here iPhone app is used as example, but procedures almost same for Android app.
Opening the app “Japan Travel”
After you open the “Japan Travel” app, the first screen of the app is something like as follows.

Touch the icon “Route” on bottom of the screen. Then, it turns to the Route Search screen.

If you want to know the route from your current position (for example, your hotel) to destination, designate your destination by typing-in or using map of the app. If you want to know the route from the specific station to your destination, designate the names of the departure and arrival station by typing-in or using map.
Typing in the name of the station
Here let’s suppose you want to take a trip from Higashi-Jujo station to Roppongi station. First suppose you know the spelling of the departure station.
Note: In Rōma-ji, spellings “Higashi-Jujo”, “Higashijujo” are possible. But in this “Japan Travel” app, only “Higashi-Jujo” is acceptable. Here “Higashi” means East and it is treated like a kind of prefix, and required to be followed by hyphen. In this app, the same rule applied for “Nishi (West)”, “Kita (North)”, “Minami (South)” and “Shin (New)” etc. Examples are “Nishi-Nippori”, “Shin-Ochanomizu”, “Shin-Yokohama” etc. “Shinosaka” is exception of this rule. “Shin-Osaka” is not acceptable in this app. There is inconsistency in the rule.
Touch “FROM” panel located on upper part of the screen, then the screen turns to type-in screen. As you type in the name of the station (case-insensitive), candidates of the station names appear below the type-in panel.

As you continue typing to j, that is “Higashi-j”, the solo candidate “Higashi-Jujo” appears.

Touch this solo candidate, then the departure station is fixed and screen returns to the Route Search screen with fixed departure station. Touch “TO” panel, then begin to type Roppongi and select the candidate “Roppongi”. Destination is fixed and it returns to the Route Search screen.

Touch SEARCH button in the middle of the screen. Candidate routes from Higashi-Jujo to Roppongi station appear.

Above screen shot, you see exclamation marks in colored triangles on far right side. They show there are some warning on the routes, like train delay. If you touch a warning mark, you know what it is.
Select a route you prefer. If you touch the route 1, then you can see the details of the route 1.


It seems there are bugs on result detail panel in this app. Look at “Platform:” rows, information is in Japanese not in English. Despite these bugs, you can get necessary Platform number information.
Using the map
If you don’t know well the spelling of the station, you can use the map of the app and select the departure and/or destination station.
On the Route Search screen, touch “OPEN MAP” icon on the upper right side of the screen.
It turns to the map screen. Then find out the intended station. Suppose we try to find out Higashi-Jujo station. After finding it out and touching it on the map. Then “From To” pop-up appears.

Touch “From”, then the screen returns to the Route Search screen with the fixed departure station. Touch “OPEN MAP” icon again. You get the map screen again.

Suppose you want to find out Roppongi station. After finding it out and touching it, “From To” pop-up appears.

Touch “To”, then the screen returns to the Route Search screen with the fixed departure and destination. Now you can search the routes from Higashi-Jujo to Roppongi station.
Fixing departure or arrival time
If you want to depart or arrive at specific time, touch “Leaving now” pull-down on the Route Search screen.
Then pull-down appears.

You can designate date, hour and minute of departure or arrival.

On the above screen, if you touch “First”, you can get the information on the first train, “Last” for information on the last train.
Leave A Comment